See you there!
Tuesday, December 20, 2011
Monday, December 19, 2011
Cane-Back Chair Makeover & Tutorial

Back in October when we first started our booth, we found these great cane-back chairs with wheels. At first, we only saw one of them and were immediately attracted to their unique shape and style, and thought they would be a nice alternative to our many French-style arm chairs. When we saw that it was a pair, we knew we needed to get them!
The tricky part about these chairs was that they were a mix of seat types--there was an upholstered cushion, but it got stapled down on the bottom side and then screwed into the frame of the chair. It seemed a little weird at first to sew the cushion cover without a bottom piece, and then staple the edges on, but it makes sense since the seat will be screwed down and the bottom won't be exposed for any reason.
The first thing we had to do was unscrew the cushion. Simple!
 |
| Here you can see the bottom of the seat-- you would never think that it gets stapled underneath, but that's what we found! |
The first step was to remove all the staples holding the old fabric in place. Not so simple! We used a great little staple remover tool, but there were seriously 2,749 staples in these bad boys.
This is just the outer layer of staples--not even the staples that are holding the cushion cover in place. It took one whole evening just to remove all the staples from the pair of chairs. Once the staples were out, the cushion cover could be pulled right off the frame. We made sure to take lots of pictures to show what parts were sewn, and what parts were stapled. Luckily here the welting was only sewn into the top part of the cushion--underneath it just got stapled after the fabric was in place!

After checking out the original cushions to see what to sew and what to staple, we traced the pattern of the old fabric onto our fabric, and sewed three layers of the cushion together: top of the cushion, the welting, and the sides of the cushion. We wrapped that around the chair frame and stapled the sides of the cushion to the frame. Then we got our last layer of welting and stapled that around the edges, so that it looked like it was one cushion sewn together!
We thought that the raw edges of the linen gave a really unique touch to the chairs, so we made sure to have a piece showing on each one.

Once the cushions were all set, we moved onto the frame. For these, we primed, painted, distressed, and stained to give lots of depth and a really one-of-a-kind feel.

The last thing we did was change out the wheels for some great little antique wheels that we felt went with the chair better than the ones that they came with.
And the finished product!
UPDATE! We sold these lovely chairs at the Alemeda flea market on January 1st. We hope the couple who got them enjoy one of our first great finds!
Sunday, December 18, 2011
Holiday Gift Wrapping & Tiny Bunting Tutorial

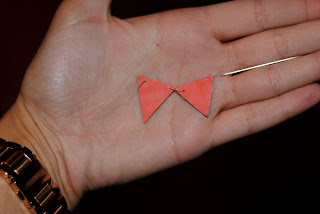
You guys. I may or may not have just discovered the easiest super cute way to gift-wrap packages. And it starts with a pizza box! (or any random cardboard you have... of course I would have a pizza box). Mini bunting banners hand-stitched together to spruce up your gifts! It sounds way harder than it is. Just follow the pictures, it's honestly that easy.
 |
| 1 |
 |
| 2 |
 |
| 3 |
 |
| 4 |
 |
| 5 |
 |
| 5 (from a different angle) |
 |
| 5 (from a different angle) |
 |
| 6 |
 |
| 6 from a different angle |
 |
| 6 from a different angle |
 |
| Repeat 'til done! |
 |
| Finished product |
Saturday, December 17, 2011
Brown Paper Booth
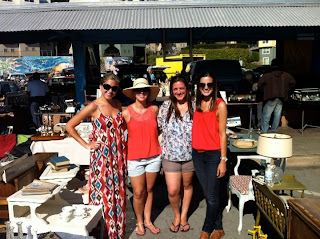
It started with a garage sale. And lots of unsold goodness. We four ladies decided that we were going to start a flea market booth (/side business to distract us from all our other work) with all of the unsold items after a garage sale back in October. We rounded up our crafting tools, brushed up on our sewing and reupholstery skills, and got to work finding and restoring antique furniture and home decor.
And that's how Brown Paper Booth was born.
Based out of San Francisco, we scour the Bay Area for treasures just waiting to be restored and transformed. About a month ago we had our booth's grand opening at the Alemany Flea Market here in SF, and next month (January 1st) we will be selling at the Alameda Antique Faire over in the East Bay (upgrade!!). We paint and reupholster all of our furniture ourselves to ensure that we sell nothing but the best quality, and also have a variety of beautiful antique home decor including lamps, books, mirrors, and artwork.
For now we will continue to sell on a regular basis at the flea markets in the Bay Area, and maybe one day we will have the most perfect storefront there ever was.
Thanks for stopping by, and we hope to have you again as we update with our newest finds, projects, tutorials, and everything Brown Paper Booth.
And that's how Brown Paper Booth was born.
 |
| BPB ladies @ Alemany grand opening |
 |
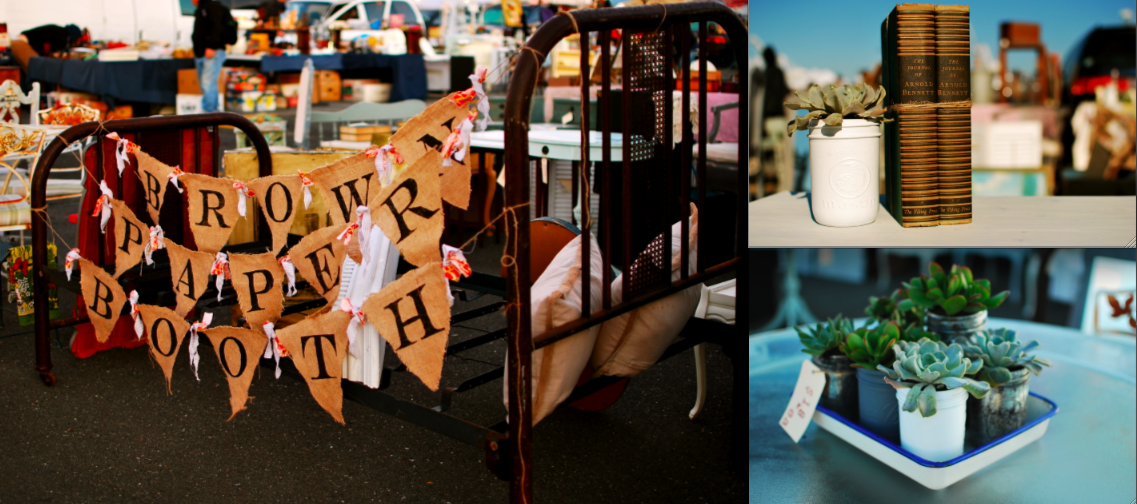
| Our lovely first booth |
Based out of San Francisco, we scour the Bay Area for treasures just waiting to be restored and transformed. About a month ago we had our booth's grand opening at the Alemany Flea Market here in SF, and next month (January 1st) we will be selling at the Alameda Antique Faire over in the East Bay (upgrade!!). We paint and reupholster all of our furniture ourselves to ensure that we sell nothing but the best quality, and also have a variety of beautiful antique home decor including lamps, books, mirrors, and artwork.
 |
| Some BPB treasures |
 |
| Grand Opening @ Alemany |
For now we will continue to sell on a regular basis at the flea markets in the Bay Area, and maybe one day we will have the most perfect storefront there ever was.
Thanks for stopping by, and we hope to have you again as we update with our newest finds, projects, tutorials, and everything Brown Paper Booth.
 |
| Cane-backed chair makeover. Tutorial to come! |
 |
| Hand painted & distressed chairs, w/ grey & white striped seats |
Subscribe to:
Posts (Atom)


